Tuesday, November 28, 2017

My Delphi Session at SoCal Code Camp in USC, Los Angeles on December 2nd & 3rd

I plan to present a Delphi session at the SoCal Code Camp in USC, Los Angeles on November 12th & 13th:

Video, Audio Processing, DSP, Computer Visuino and Artificial Intelligence in Delphi

and

Industrial Automation (PLC/SCADA) and Communication with Visuino, Delphi, Visual Studio and OpenWire Studio

I will also present 2 other Visuino sessions:
http://labpacks.blogspot.com/2017/11/my-visuino-sessions-at-socal-code-camp.html

You can see the complete list of sessions here:

http://www.socalcodecamp.com/sessions.aspx

If you are in the area, please join the sessions. The Conference is Free!
Please also vote for the session, if you plan to attend, so the organizers can assign room with proper size :-)


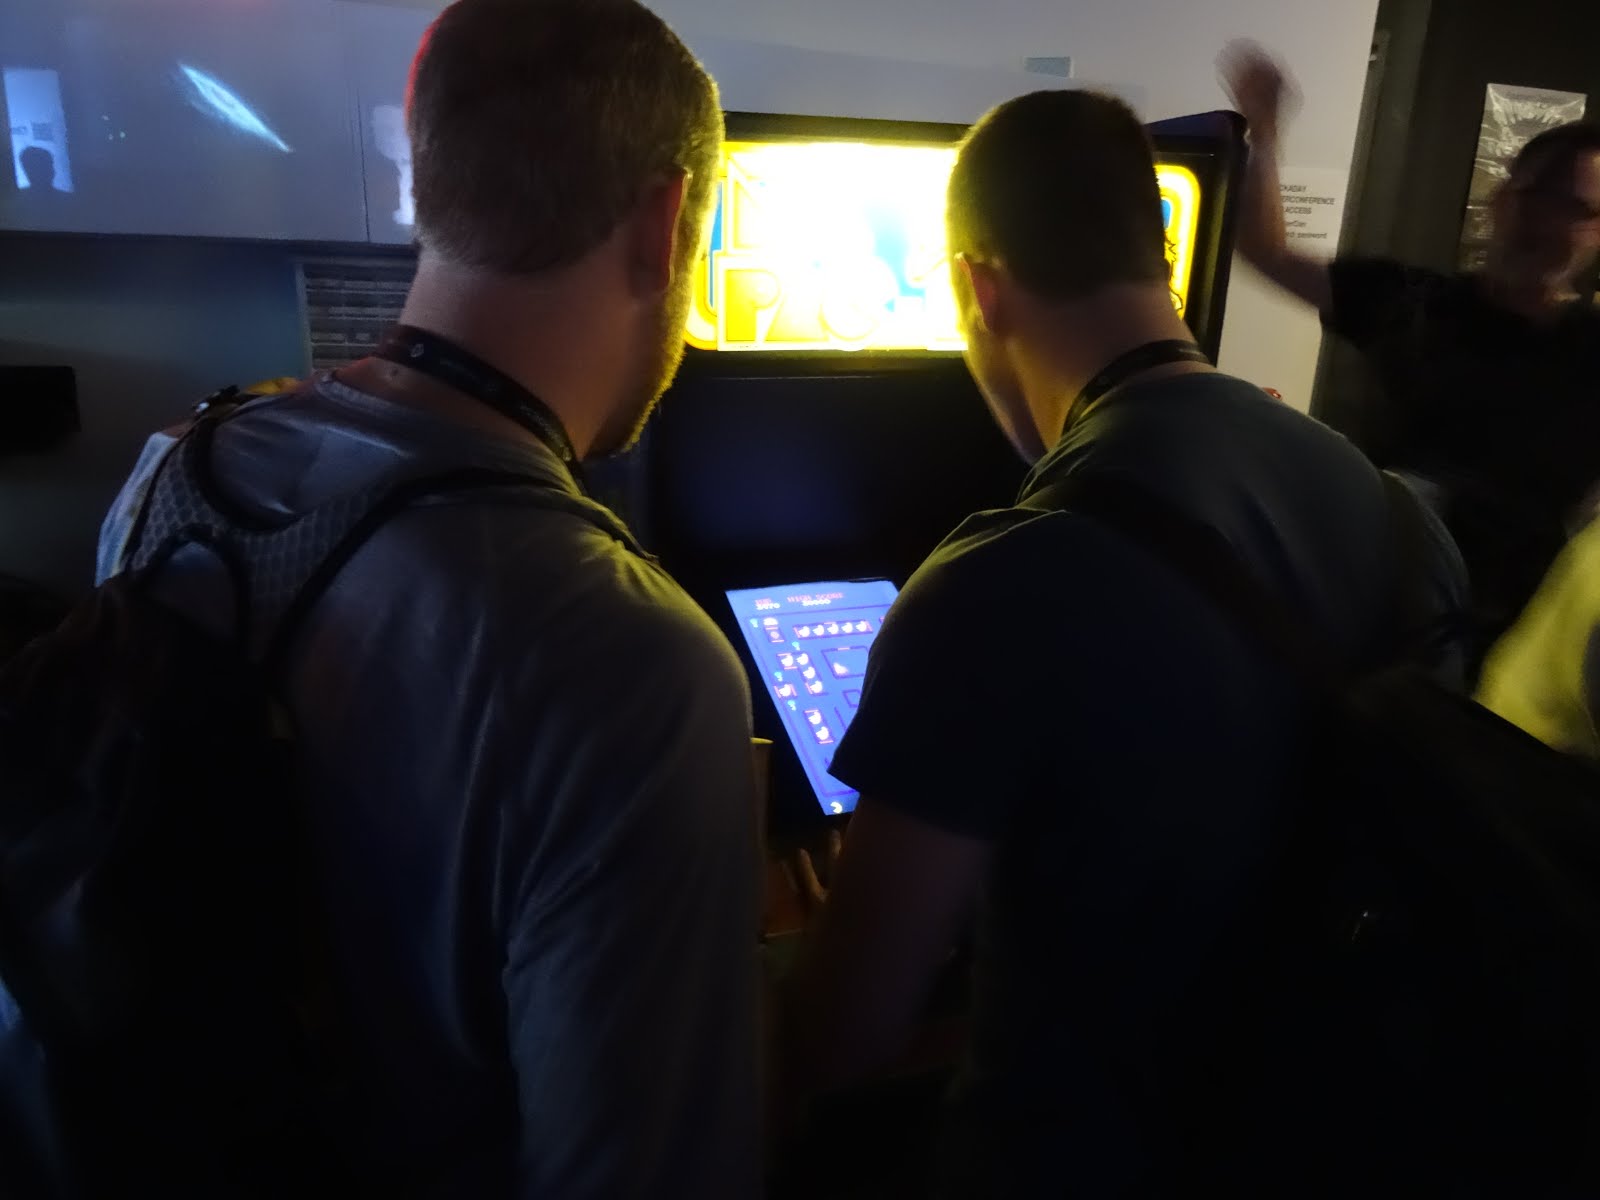
Last year 2 years, I attended the conference (You can actually see me on the picture above almost right in the center :-D ), and it was a great event!
Even if you are not interested in my sessions, please check out all the great sessions by the rest of the presenters!

Please note that the site seems to be very popular, and sometimes the server is overwhelmed and timeouts. If you get timeout error, please try later again!

#Delphi #OpenWire

Unboxing my new Acoustic Levitation Arduino KIT from Makerfabs - Levitate anything with sound :-)

Few months ago, I saw this Really Cool Instructable on making your own Acoustic Levitator:
https://www.instructables.com/id/Acoustic-Levitator/


Made by  Asier Marzo, and I got really excited about it :-). So I contacted my good friends at Makerfabs, and suggested them to make an Acoustic Levitator KIT for it. They contacted the Asier Marzo and he agreed for such a KIT to be made.
So the Acoustic Levitator KIT is now a reality and available here:
https://www.makerfabs.com/index.php?route=product/product&product_id=508

And to thank me, the Magerfabs folks, just sent me probably the very first Acoustic Levitator KIT ! :-)
Here is video of the Unboxing of the KIT:


And some pictures that I took:


The KIT uses Arduino Nano to control the Acoustic Transducers. I plan to also experiment with other controllers to see how they will perform in the task.

Those of you that follow me, probably know that I am quite overloaded with all the work on Visuino, the Mitov Software Libraries, and all the Robots, but I will try my best to post some videos/tutorials on assembling the KIT, so stay tuned... ;-)

Cheers,
  Boian

#Arduino


Sunday, November 26, 2017

My Visuino Sessions at SoCal Code Camp in USC, Los Angeles on December 2nd & 3rd

I plan to present 3 Visuino sessions at the SoCal Code Camp in USC, Los Angeles on November 2nd & 3rd:

Implementing Internet of Things with Visuino
Programming Arduino Robots with Visuino
Industrial Automation (PLC/SCADA) and Communication with Visuino, Delphi, Visual Studio and OpenWire

I will also plan to present one other session, but will announce it separately as it is not about Visuino.
You can see the complete list of sessions here:

http://www.socalcodecamp.com/sessions.aspx

If you are in the area, please join the sessions. The Conference is Free!
Please also vote for the session, if you plan to attend, so the organizers can assign room with proper size :-)


Last 2 years I attended the conference (You can actually see me on the picture above almost right in the center :-D ), and it was a great event!
Even if you are not interested in my sessions, please check out all the great sessions by the rest of the presenters!

Please note that the site seems to be very popular, and sometimes the server is overwhelmed and timeouts. If you get timeout error, please try later again!

#Visuino #Arduino #Delphi

Saturday, November 25, 2017

Assemble Elegoo Smart Car Arduino Robot KIT 3.0 Step 12: Tidy Up The Cables

Last year, the great folks at Elegoo sent me one of their great Arduino Robot Kit Version 1.0.
I already posted Assembly Instructions, and some tutorials on programming it.
Couple of month later, they introduced improved Smart Car Arduino Robot KIT Version 2.0 , and also sent me one :-). I posted Assembly Instructions for it too :-). I also mapped the Shield in Visuino , and started work on tutorials.
Elegoo did not stop there however, and few weeks ago I received the Latest Version 3 Arduino Robot Kit donated for the Visuino development!

I already posted:

Unboxing video
Step 1: Installing the Motors on the Chassis
Step 2: Installing and Connecting The Motor Driver Board
Step 3: Installing The Line Tracking Sensor Board on the Chassis
Step 4: Installing The Arduino and Sensor Shield Boards on the Chassis
Step 5: Installing The Battery Box on the Chassis
Step 6: Installing the Servo turning the Ultrasonic Ranger
Step 7: Assembling and Installing the Obstacle Avoidance Ultrasonic Ranger
Step 8: Connecting the boards, and joining the 2 layers of the Chassis together
Step 9: Installing the Wheels
Step 10: Charging and Installing the Batteries
Step 11: Installing The HC-08 Bluetooth Module on the Sensor Shield

Here is the 12th Assembly Video - Tidy Up The Cables:


I am preparing the last Assembly video and will post it in the following days. I have also started mapping the Robot's Shield functionality in Visuino, and hope to have improved support in few days.
I will try to make some more Visuino tutorials for the Robot.

Cheers,
  Boian

#Visuino #Arduino #Elegoo #Robot

Tuesday, November 21, 2017

Assemble Kuman Arduino Robot Car KIT SM11 Step 3: Install the Ultrasonic Ranger On The Mount

Few weeks ago I received a Cool Arduino Robot Car SM11 KIT from the great folks at Kuman generously donated for the Visuino development :-).

I already posted:
Unboxing video
Step 1: Installing the Motors and Attaching the Wheels
Step 2: Installing The Boards And Sensors

And here is the 3rd assembly video - Assemble the Ultrasonic Ranger mount, and install the Ultrasonic Ranger on it:


I am preparing the rest of the Assembly videos and will post them in the following days.
I am also looking into what is the best way to map the Robot functionality in Visuino .
After that I will try to make some Visuino tutorials for the Robot.

Cheers,
  Boian

#Visuino #Arduino #Kuman

Sunday, November 19, 2017

Sneak peek at the InstrumentLab Delphi running in CrossVCL on MAC

In the last 2 years, I was able to port at least partially all the Mitov Software libraries to cross platform, with one notable exception - InstrumentLab :-( .
InstrumentLab is a really cool library, but it is based on GDI+, and as such is difficult to port to other platforms... That is until now :-) .
Recently Eugene Kryukovk announced his latest ingenious project - CrossVCL!
CrossVCL allows you with minimal effort to port VCL based Delphi projects to MAC and Linux.
As soon as I learned about the library, I immediately jumped into action, trying to port the Mitov Software components to support it. CrossVCL comes with fairly decent GDI+ support, and that makes it great candidate for porting the InstrumentLab.
CrossVCL is still in Beta, and the first attempts uncovered some issues here and there, but Eugene Kryukov did a fantastic job on resolving them, and the library already starts to look the way it should on MAC.
This is screenshot of the Gauge already working on MAC:

This is still a very early version, and a lot of work remains to be done. Not all the components are working yet, but this is a great first step in the MAC port of the InstrumentLab :-).
Visuino is also largely based on GDI+ and the plan is to port it with CrossVCL to MAC and Linux, so this development is also important step of the Visuino MAC/Linux port.
I will keep posting updates on the development, so stay tuned ;-).

#Delphi #Visuino #CrossVCL

Cheers,
  Boian

Thursday, November 16, 2017

Assemble Elegoo Smart Car Arduino Robot KIT 3.0 Step 11: Install The HC-08 Bluetooth Module

Last year, the great folks at Elegoo sent me one of their great Arduino Robot Kit Version 1.0.
I already posted Assembly Instructions, and some tutorials on programming it.
Couple of month later, they introduced improved Smart Car Arduino Robot KIT Version 2.0 , and also sent me one :-). I posted Assembly Instructions for it too :-). I also mapped the Shield in Visuino , and started work on tutorials.
Elegoo did not stop there however, and few weeks ago I received the Latest Version 3 Arduino Robot Kit donated for the Visuino development!

I already posted:

Unboxing video
Step 1: Installing the Motors on the Chassis
Step 2: Installing and Connecting The Motor Driver Board
Step 3: Installing The Line Tracking Sensor Board on the Chassis
Step 4: Installing The Arduino and Sensor Shield Boards on the Chassis
Step 5: Installing The Battery Box on the Chassis
Step 6: Installing the Servo turning the Ultrasonic Ranger
Step 7: Assembling and Installing the Obstacle Avoidance Ultrasonic Ranger
Step 8: Connecting the boards, and joining the 2 layers of the Chassis together
Step 9: Installing the Wheels
Step 10: Charging and Installing the Batteries

Here is the 11th Assembly Video - Installing The HC-08 Bluetooth Module on the Sensor Shield:


I am preparing the rest of the Assembly videos and will post them in the following days. I have also started mapping the Robot's Shield functionality in Visuino, and hope to have improved support in few days.
I even succeeded to post one Video Tutorial on Simple Obstacle Avoidance with the Robot with Visuino:

I will try to make some more Visuino tutorials for the Robot.

Cheers,
  Boian

#Visuino #Arduino #Elegoo #Robot

Tuesday, November 14, 2017

Assemble Kuman Arduino Robot Car KIT SM11 Step 2: Install The Boards And Sensors

Couple of weeks ago I received a Cool Arduino Robot Car SM11 KIT from the great folks at Kuman generously donated for the Visuino development :-).

I already posted:
Unboxing video
Step 1: Installing the Motors and Attaching the Wheels

And here is the Second assembly video - Installing The Boards And Sensors:


I am preparing the rest of the Assembly videos and will post them in the following days.
I am also looking into what is the best way to map the Robot functionality in Visuino .
After that I will try to make some Visuino tutorials for the Robot.

Cheers,
  Boian

#Visuino #Arduino #Kuman

Monday, November 13, 2017

Pictures from the Hackaday LA Siperconference 2017

  Saturday I was able to spend few hours at the Hackaday Superconference LA 2017 . The event started Friday afternoon and continued until Sunday evening, but I was able to stay only about half day as Visuino needed more attention.
The Conference also featured a cool PIC32 based Hackable Badge with built in camera and OLED screen:


And a bag full of goodies some of them shown on the pictures here:
 

And me being a Software Developer, I jumped into battle mode with one of my Visuino Programmed Kuman Robots, as soon as I saw a HexBug :-D
You can see a video of me getting the bug on Twitter:
Visuino Robt vs. HexBug

A good Conference starts with seamless Registration:
 

And getting a cool Conference T-Shirt:

All the locations were packed:
 

And so was the Hacking and Workshop tents area:


And how can you have Hackaday, without Pirates :-) :


I had a chance to do a small demo of programming Robots with Visuino:

I did this tutorial:

And then showed few other Robot projects. I will post video tutorials for them soon!

And no Conference is complete without great food, and... Espresso!


All the way to the evening:

With never stopping hacking:
 

And Robot presentations (Including some of my robots on the left):
 

All culminating with a Night Party:
 

Featuring arcade games:


Even real old school Pinball and Pac-Man:


And me and my Visuino programmed Robots, just before leaving:


As expected this was a fantastic event organized by the great people of Hackaday, and Supplyframe , and I am looking forward to be at the next SoperCon, and hopefully to have more time to spend there next time :-)

Cheers,
  Boian

#Hackaday #SuperCon #Visuino


Saturday, November 11, 2017

Elegoo Arduino Robot V3: Implement Simple Obstacle Avoidance with Visuino

Just posted the first video tutorial on programming the new Elegoo Smart Car Arduino Robot KIT Version 3 with Visuino, to implement simple Simple Obstacle Avoidance:


Here is the Visuino Diagram:

And you can download the code here:

http://www.mitov.com/ElegooRobotV3SimpleObstacleAvoidance.zip

#Visuino #Arduino #Robot

Tuesday, November 07, 2017

My "Developing Your Own Visuino Components with Delphi" session at CodeRage XII Tomorrow!

Please join CodeRage XII tomorrow for my "Developing Your Own Visuino Components with Delphi" session at 3:00 PM CST!


It this session I will introduce you to the Visuino SDK:


And I will show you how easy it is to create your own Visuino components using Delphi.
The Visuino SDK is available as Free Download in the G+ “Visuino - Visual Arduino Developers” Community:
https://plus.google.com/communities/116125623808250792822

I hope you will enjoy the presentation! :-)

#Visuino #Arduino #Delphi

My "Create SCADA Modbus Industrial Control applications, and Devices with ControlLab, and Visuino Pro" session at CodeRage XII Tomorrow!

Please join CodeRage XII tomorrow for my "Create SCADA Modbus Industrial Control applications, and Devices with ControlLab, and Visuino Pro" session at 2:00 PM CST!


It this session I will show you how easy it is to program Arduino based Industrial PLC controllers with Visuino Pro to implement:
  • Modbus Client Devices
  • Modbus Master Protocol
  • And bridging between different Modbus protocols
I will also show you how easy it it to connect to such devices from Delphi using ControlLab .

I hope you will enjoy the presentation! :-)

#Visuino #Arduino #Delphi

Friday, November 03, 2017

Assemble Kuman Arduino Robot Car KIT SM11 Step 1: Install the Motors and Wheels

Couple of weeks ago I received a Cool Arduino Robot Car SM11 KIT from the great folks at Kuman generously donated for the Visuino development :-).

I already posted Unboxing video.

And here is the First assembly video - Installing the Motors and Attaching the Wheels:


I am preparing the rest of the Assembly videos and will post them in the following days.
I am also looking into what is the best way to map the Robot functionality in Visuino .
After that I will try to make some Visuino tutorials for the Robot.

Cheers,
  Boian

#Visuino #Arduino #Kuman

Wednesday, November 01, 2017

Assemble Elegoo Smart Car Arduino Robot KIT 3.0 Step 10: Charging and Installing the Batteries

Last year, the great folks at Elegoo sent me one of their great Arduino Robot Kit Version 1.0.
I already posted Assembly Instructions, and some tutorials on programming it.
Couple of month later, they introduced improved Smart Car Arduino Robot KIT Version 2.0 , and also sent me one :-). I posted Assembly Instructions for it too :-). I also mapped the Shield in Visuino , and started work on tutorials.
Elegoo did not stop there however, and few weeks ago I received the Latest Version 3 Arduino Robot Kit donated for the Visuino development!

I already posted:

Unboxing video
Step 1: Installing the Motors on the Chassis
Step 2: Installing and Connecting The Motor Driver Board
Step 3: Installing The Line Tracking Sensor Board on the Chassis
Step 4: Installing The Arduino and Sensor Shield Boards on the Chassis
Step 5: Installing The Battery Box on the Chassis
Step 6: Installing the Servo turning the Ultrasonic Ranger
Step 7: Assembling and Installing the Obstacle Avoidance Ultrasonic Ranger
Step 8: Connecting the boards, and joining the 2 layers of the Chassis together
Step 9: Installing the Wheels

Here is the 10th Assembly Video - Charging and Installing the Batteries:


I am preparing the rest of the Assembly videos and will post them in the following days. I have also started mapping the Robot's Shield functionality in Visuino, and hope to have improved support in few days.
After that I will try to make some Visuino tutorials for the Robot.

Cheers,
  Boian

#Visuino #Arduino #Elegoo #Robot